
Have you ever experienced the sinking feeling of accidentally deleting precious photos? Losing those captured memories, whether they be of loved ones, special occasions, or irreplaceable moments, can be devastating. This practical guide, “Rescuing Lost Memories: A Practical Guide to Recovering Deleted Photos,” offers a beacon of hope. We will explore effective methods to recover deleted photos, providing you with the tools and knowledge to potentially retrieve those seemingly lost treasures. Learn how to navigate the intricacies of photo recovery, from understanding how deletion works to employing the right data recovery software and techniques. This guide is designed to empower you to take control and increase your chances of rescuing lost memories.
Recovering deleted photos is often possible due to the way data is stored. While a file may appear to be gone, it often remains on the storage device until overwritten by new data. This guide provides a step-by-step approach to recovering deleted photos from various devices, including hard drives, memory cards, and even smartphones. We will discuss the importance of acting quickly, minimizing further data writes, and choosing the correct data recovery software for your specific needs. Whether you’re a tech novice or have some experience, this comprehensive resource will guide you through the process, providing practical advice and proven strategies for a successful photo recovery.
Understanding Photo Deletion and Recovery
When you delete a photo, it isn’t immediately erased from your device’s storage. Instead, the system marks the space occupied by the photo as available for reuse. Think of it like removing a card from a library catalog – the book is still on the shelf, but the catalog indicates the space is empty.
This is why photo recovery is often possible. Recovery software scans the storage for these “deleted” files and attempts to restore them. However, the recoverability of a photo diminishes over time. As new data is saved, it can overwrite the space previously occupied by the deleted photo, making recovery impossible.
The speed of recovery is therefore critical. The sooner you attempt recovery after deletion, the higher the likelihood of success.
Checking Recently Deleted Albums or Folders
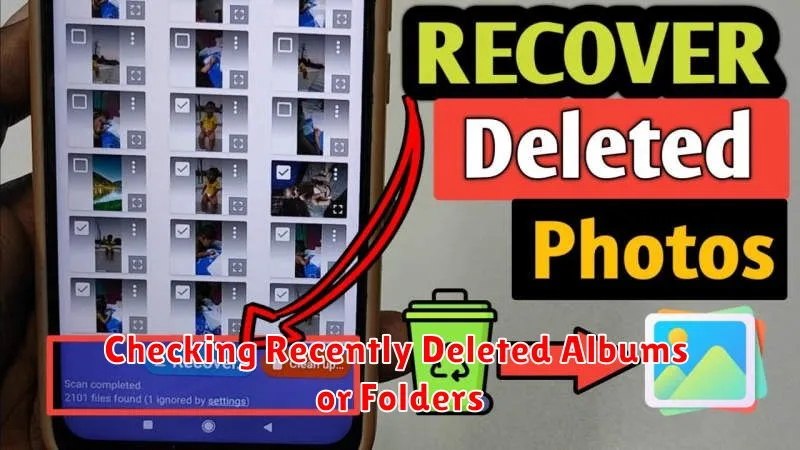
One of the first steps in recovering deleted photos is to check your device’s recently deleted album or folder. Most modern smartphones, tablets, and computers have a designated location where deleted photos are temporarily stored before being permanently erased. This feature acts as a safety net, providing a grace period for recovering accidentally deleted images.
The location and duration of this temporary storage vary depending on the operating system and device. On smartphones, it’s typically called “Recently Deleted” and can be found within the photos app. On computers, the location might be the Recycle Bin or Trash. Time is of the essence, as these deleted items are usually purged after a certain period, ranging from 30 to 60 days.
To recover photos from this temporary storage, simply locate the recently deleted album or folder, select the photos you wish to retrieve, and choose the restore or recover option. This process will move the selected photos back to their original locations.
Using Cloud Storage Backup and Restore
Cloud storage services like Google Photos, iCloud, Dropbox, and OneDrive often offer automatic backup features for your photos. If you’ve enabled this, deleted photos might still reside within your cloud account, even after being removed from your device.
Most cloud services have a “Recently Deleted” or “Trash” folder where deleted items are kept for a specific period (e.g., 30-60 days) before permanent deletion. Check this folder immediately after realizing your photos are missing.
Restoring photos from the cloud is usually straightforward. Locate the deleted photos within the recently deleted area or your backed-up albums and select the “Restore” or “Recover” option. The photos should reappear on your synced devices.
Regularly review your cloud storage settings to ensure automatic backups are active and that sufficient storage is available. This proactive approach can significantly reduce the risk of permanent photo loss.
Employing Photo Recovery Software
When other recovery methods fail, dedicated photo recovery software can be a powerful tool. These specialized applications are designed to scan your storage device deeply, looking for data remnants of deleted photos. It’s crucial to install the software on a different drive than the one where you lost the photos to avoid overwriting potentially recoverable data.
Several reputable photo recovery software options are available, both free and paid. Research and choose a program that suits your needs and operating system. Carefully read reviews and compare features before installing any software.
Once installed, follow the software’s instructions precisely. Most programs require you to select the specific storage device and file types you’re trying to recover. The scanning process can take considerable time depending on the storage size and the chosen scan depth.
After scanning, the software will present a list of potentially recoverable files. Preview the photos where possible before recovering them. Choose a safe location on a different drive to save the recovered files to prevent further data loss.
Tips for Maximizing Recovery Chances
Act Fast: The sooner you attempt recovery after deletion, the higher the likelihood of success. Deleted data isn’t immediately overwritten, but the operating system can eventually allocate that space for new files. Swift action is crucial.
Stop Using the Device: Continued use of the device after photo deletion increases the risk of overwriting the deleted data. Refrain from taking new photos, downloading files, or installing apps until you’ve attempted recovery.
Choose Recovery Software Wisely: Research and select reputable photo recovery software. Look for software with positive reviews and a proven track record. Be cautious of free software, as it may have limitations or even contain malware.
Recover to a Different Drive: When using recovery software, save the recovered photos to a different storage device than the one you’re recovering from. This prevents potential data overwriting and ensures the integrity of the recovered files.
Preventing Future Photo Loss

Regular backups are the cornerstone of preventing photo loss. Choose a backup method that suits your needs, whether it’s an external hard drive, cloud storage, or a combination of both. Automate this process if possible to ensure consistency.
Diversify your storage locations. The 3-2-1 backup strategy is a reliable approach. Keep three copies of your photos on two different media types, with one copy offsite. This protects against hardware failures, accidental deletion, and even localized disasters.
Practice safe photo handling habits. Safely remove external drives and memory cards. Avoid interrupting data transfer processes and keep devices away from extreme temperatures or magnetic fields. These practices minimize the risk of corruption and data loss.
Professional Data Recovery Services
When DIY recovery methods fail, professional data recovery services offer a last resort. These specialized companies possess the expertise and advanced tools to retrieve data from severely damaged or corrupted storage devices.
Data recovery professionals can handle a wide range of scenarios, including physical damage to hard drives, severe corruption of file systems, and even data loss due to natural disasters. They operate in clean room environments to minimize the risk of further damage during the recovery process.
While professional services offer a higher chance of success, they come at a significant cost. The complexity of the recovery and the type of storage device influence the final price. Be sure to obtain a detailed quote upfront, including an assessment of the potential for successful recovery and any associated guarantees.